
SpiceDB is best known for being a Zanzibar-inspired open-source database system for managing security-critical application permissions, but did you know that the spicedb binary has additional commands and configurable features?
We recently received some questions about the HTTP API in our Discord channel so we thought we’d take the opportunity to more formally introduce this particular feature.
The SpiceDB HTTP API is built using grpc-gateway which takes the Authzed API protobuf definitions, generates a JSON interface, and provides a reverse proxy to respond to HTTP requests.
It is one of the many ways we take advantage of the gRPC ecosystem and you can see exactly how we implement our API service here (open source development FTW!)
We generally recommend using our official client libraries as they are more performant but the HTTP API can be a good starting point for getting introduced to SpiceDB and the API.
This post's primary goal will be to guide you through running SpiceDB in your local workspace and making API calls to begin exploring.
Running SpiceDB
If you haven’t installed SpiceDB yet, get the latest version via homebrew:
$ brew install authzed/tap/spicedb
Next, print all the available features and configuration options by running:
$ spicedb help
$ spicedb help serve
You'll see quite a few commands and options which will be useful when you get to set up and tune your SpiceDB deployment.
For now, we’ll rely on the helpful defaults in SpiceDB to focus on running the HTTP API server locally.
spicedb serve --grpc-preshared-key "secrettoken" --http-enabled
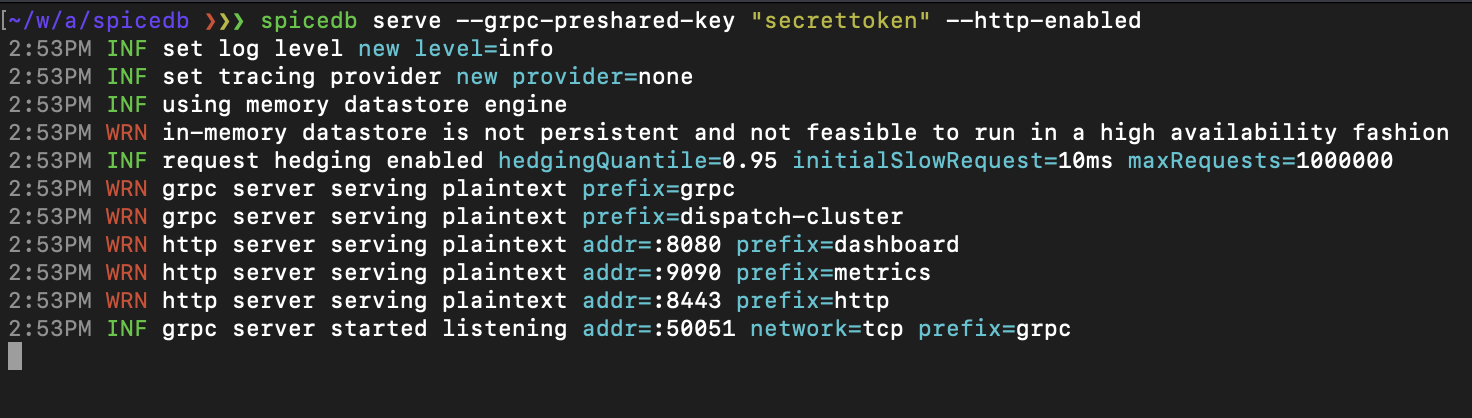
The above command serves the permissions database with the given preshared secret and enables the HTTP API server.
The preshared key will be the secret used as the bearer token to authorize our HTTP API requests.
From the start-up log messages, we can note a few of the helpful defaults:
- The datastore is the in-memory database
- A warning that data in the in-memory database won’t persist beyond the SpiceDB process.
- Request hedging is enabled
- The grpc and HTTP servers will be communicating over plaintext
- The HTTP API server will be listening on port 8443
Browse the API
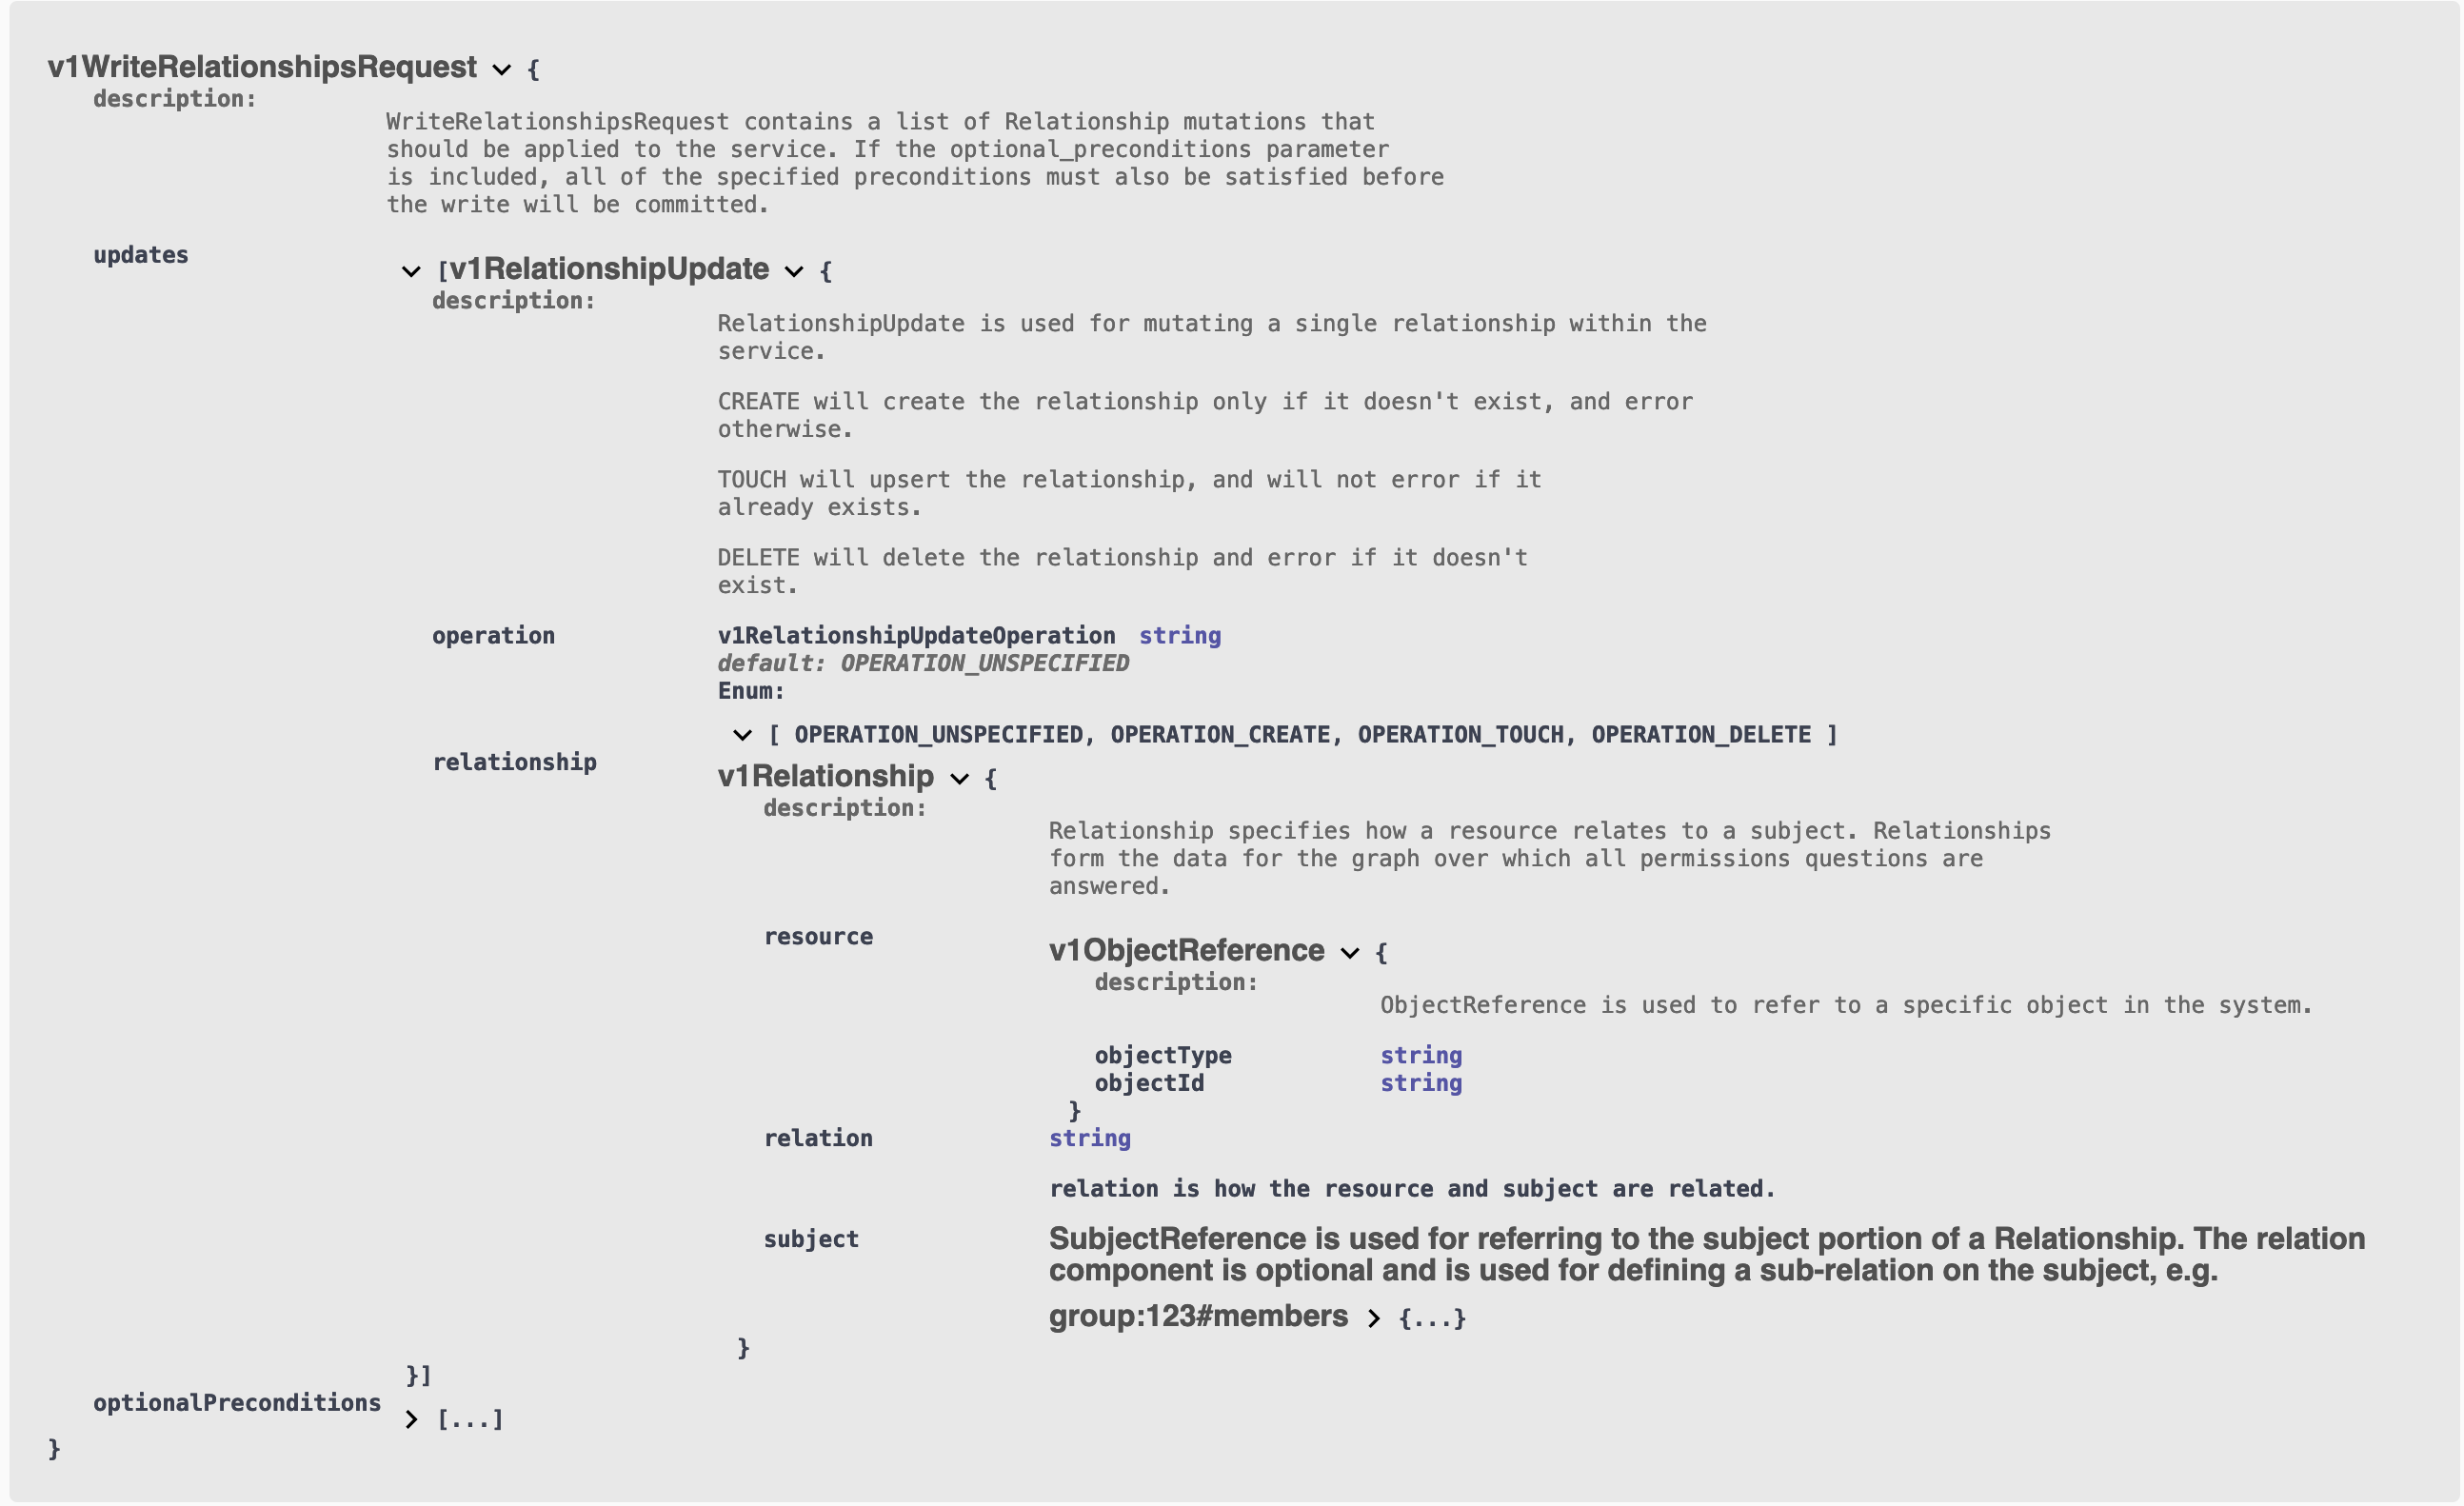
An OpenAPI spec is generated along side the API proxy so we can use standard tooling such as swagger to browse:
Here you can view available operations and models which is especially handy for browsing enum values.
Making API calls
We can make an API call by simply sending a json message over HTTP. Using curl that would look like the follow for the read schema operation:
curl -X POST http://localhost:8443/v1/schema/read \
  -H 'Content-Type: application/json' \
  -H 'Authorization: Bearer secrettoken' \
  -d '{}'
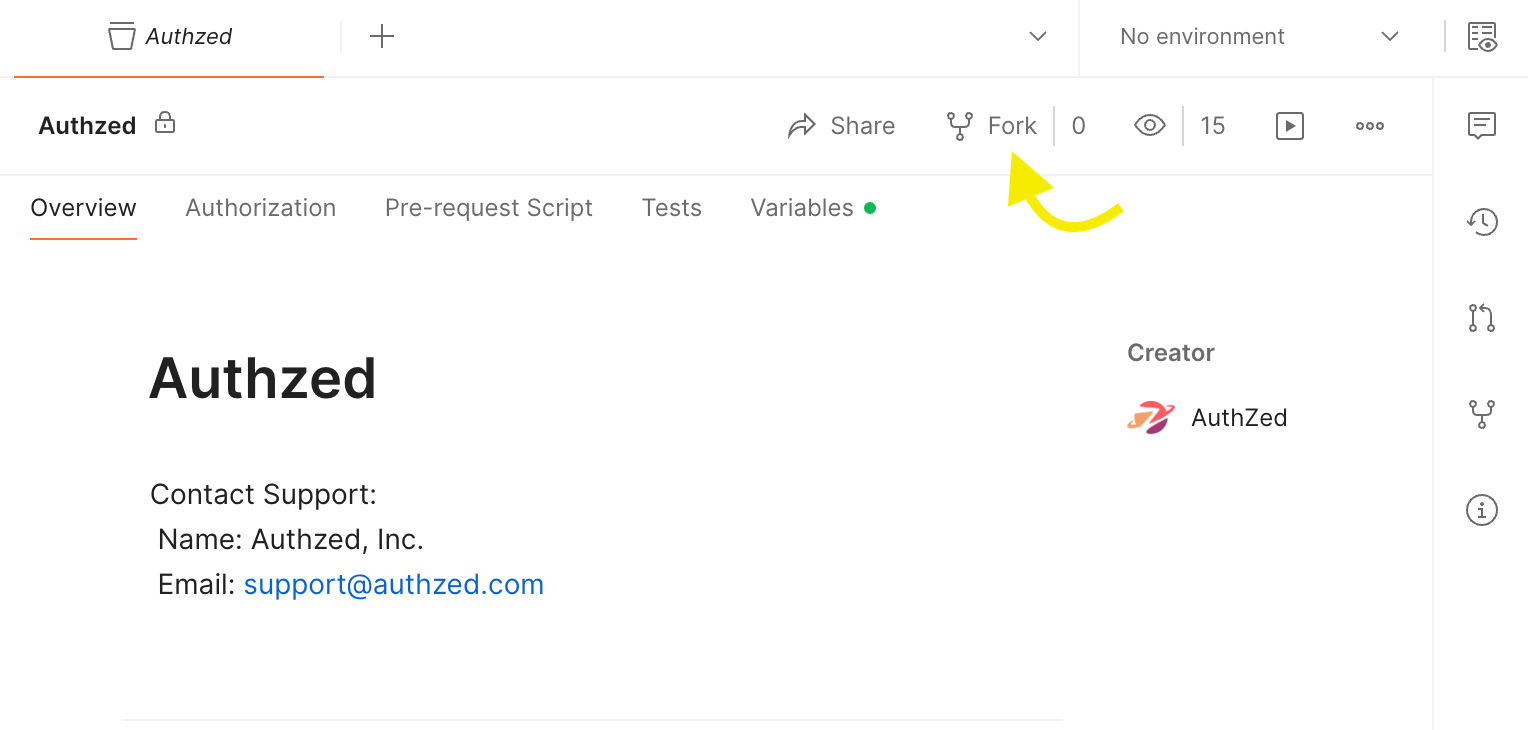
Using an HTTP client app can make our exploration easier by helping us craft HTTP requests and visualize responses. For your convenience, we’ve created a Postman collection that contains examples of each API operation.
You can run APIs from the collection or fork it into your personal Postman workspace.
In the collection, you’ll find a Schema and a Permissions folder, both containing their respective operations. Generally, each operation includes its endpoint, HTTP method, authorization header, and body JSON.
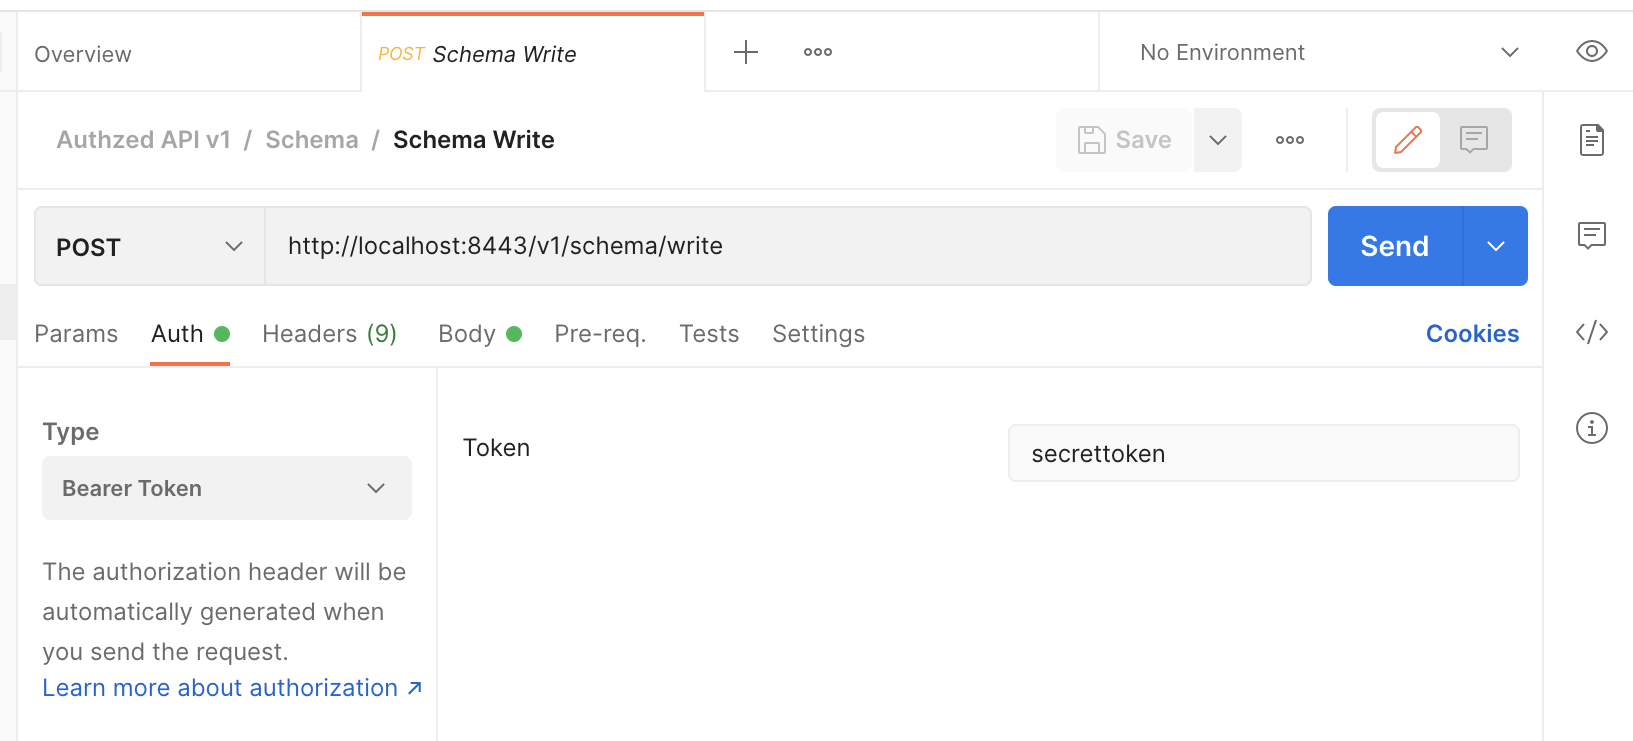
Note: you'll need to replace the Bearer Token value with the preshared key value you used to start your SpiceDB process.
Lastly, to kick off your API exploration, run the APIs in the following order.
Each request is pre-filled with example body data so you should be able to simply click the Send button.
- Schema Write: writes a sample schema
- Schema Read: view the sample schema
- Relationships Write: writes 2 sample relationships
- Relationships Read: view the sample relationships
- Permissions Check: check a computed permission for a user
- Permissions Expand: view the expanded relationships for the sample document
- Lookup Resources: list the documents with the view permission for a user
- Relationships Delete: delete a relationship that matches the precondition
Hopefully, the sample API requests are sufficient to give you a feel for interacting with SpiceDB.
If you’ve found this guide helpful or have questions as you continue using SpiceDB, drop us a message in our Discord channel!
Additional Reading
If you’re interested in learning more about Authorization and Google Zanzibar, we recommend reading the following posts: